Removal and installation of the top facing of a rack B
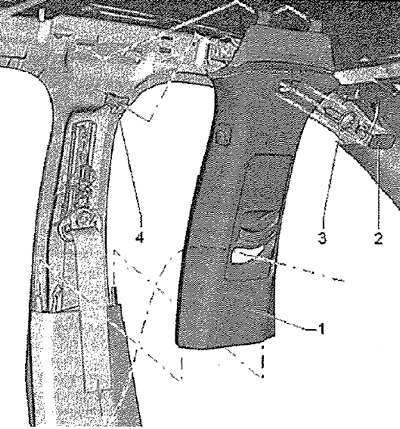
Remove trim -2- with or without inscription "Airbag" (depending on configuration). Remove screw -3- (1.5 Nm). Detach trim -1- from wire at lower B-pillar trim. Pull upper edge of trim -1- out of roof mountings.

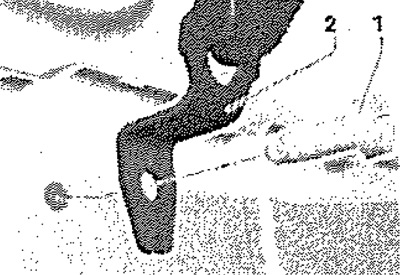
Unscrew the front seat belt screw -1- (40 Nm). Pass the seat belt through the hole in the lining. Remove lining from vehicle.

Installation
Installation in reverse order. After attaching the trim, make sure that the trim fits into the door seal bezel.
Note: Before installation, check all fastening elements for damage and replace if necessary. On vehicles with automatic belt retractor, before attaching, make sure that the automatic belt retractor is located on the body and the slider of the automatic belt retractor is in the highest position at the trim. After installation, check the function of the automatic belt retractor. Pay attention to the correct position and free play of the seat belt.
Removal and installation of the bottom facing of a rack B
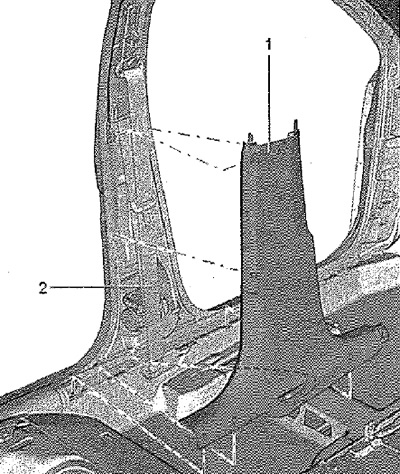
Remove upper B-pillar trim. Detach upper part of lower trim -1- from B-pillar towards passenger compartment. Remove or raise rear section of A-pillar lower trim. Detach lower trim -1- from sill and wheel arch trim. Open lower trim under seat belt slot and release seat belt -2- from trim.

Installation
Installation in reverse order. After installing the cladding, make sure that the cladding fits into the door seal bezel. Check the mutual alignment and fixation of the B-pillar lower trim, the A-pillar trim and the wheel arch trim.
Note: Before installation, check all fastening elements for damage and replace if necessary. On vehicles with an automatic belt retractor, before installing, make sure that the automatic belt retractor is located on the body and the slider of the automatic belt retractor is in its highest position at the trim. After installation, check the function of the automatic belt retractor. Pay attention to the correct position and free play of the seat belt.
