Note.
- Necessary special devices, control and measuring devices, as well as auxiliary means:
- Container for collecting coolant.
- Pliers for spring clamps.
Removing
1. Remove the front bumper (for details, see the relevant section in chapter Body).
2. Drain the coolant.
3. Remove cover with auxiliary cooling fan -V7- (more, see relevant section in this chapter).
4. Unplug electrical harness connector at coolant fan temperature switch -F18-.
5. Disconnect the upper coolant hose from the radiator connection pipe.
6. Disconnect the upper coolant hose from the charge air cooler connection pipe.
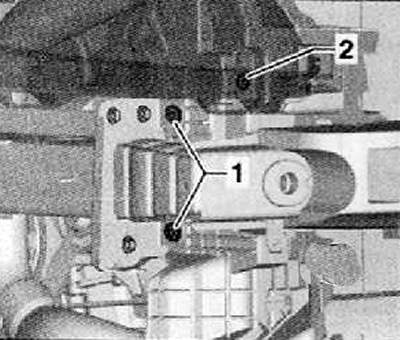
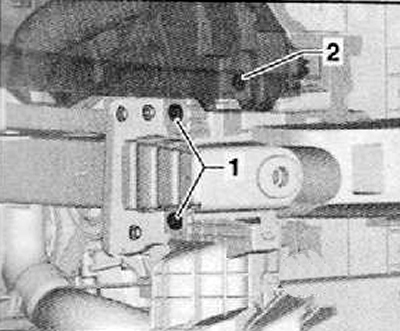
7. Unscrew the fastening screw (2) on the right or left side of the radiator support, as shown in the figure below.
8. Having pressed a radiator in a direction back, to take a radiator from the right and left support.
Vehicles without air conditioning
9. Remove the radiator together with the charge air cooler from the lower rubber pads in an upward direction, remove it with its side downwards.
Cars with air conditioning
10. Remove the V-ribbed implement drive belt (for details, see the relevant section in the chapter Gasoline engines).
Attention. Risk of injury from coolant. The refrigerant circuit of the air conditioner must not be opened.
Attention. Risk of damage to the condenser and coolant lines and hoses. Coolant lines and hoses must not be overstretched or bent at sharp angles.
11. Disconnect and remove the A/C compressor from the accessory holder, secure it with the coolant hoses attached to the body.
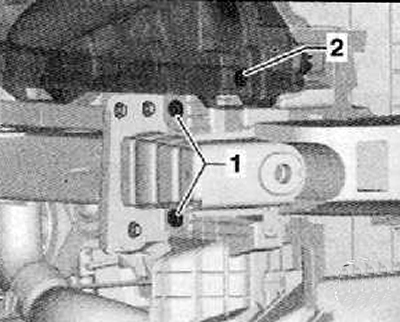
12. Mark the position for assembling the screws (1) fasteners on the right and left side. These screws only need to be loosened.
13. Remove the radiator together with the charge air cooler and the condenser from the lower rubber pads in an upward direction. To do this, pull the plastic housing of the front wall module downwards. There is very little space on the right between the coolant line and the body.
14. The radiator with the condenser should be put aside.
15. Unscrew the screws shown in the figure below (arrows) capacitor (2) from the radiator (1).
16. Pulling the condenser forward, tie it firmly to the body front wall module.
17. The radiator together with the charge air cooler should be removed with the side facing down.
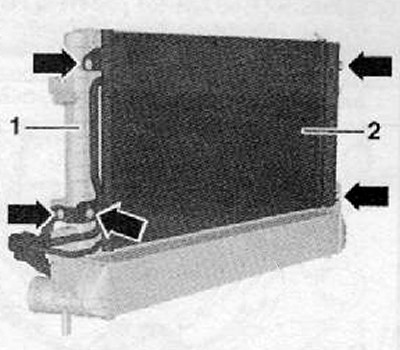
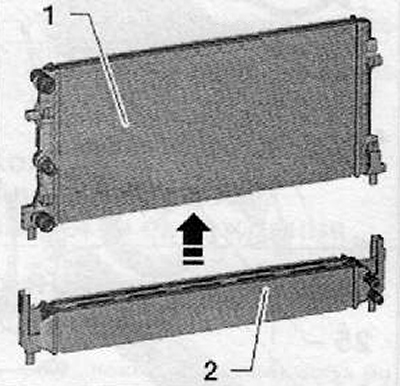
18. Remove the radiator (1) in the direction of the arrow from the side grips on the charge air cooler (2), as shown in the figure below.
Installation
Installation is carried out in the reverse order of removal.
For vehicles with air conditioning, install the plastic housing of the front wall module upwards to its original position and tighten the screws (1) fasteners on the right and left side. Tightening torque: 8 Nm.
Fill the cooling system with fresh coolant.
