17. Apply the handbrake several times. to set the correct clearance between the shoe and the brake drum, then fully release the lever. Using moderate force, tighten the handbrake to the stop and count the number of clicks of the ratchet; if this number does not match the data given in Specifications. adjustment required.
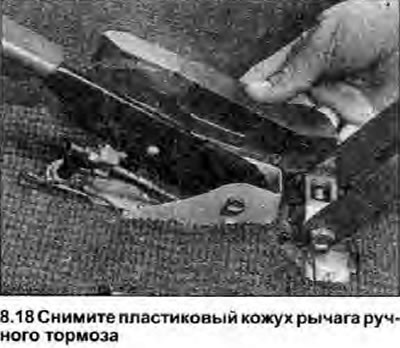
18. To adjust the handbrake, block the front wheels, then jack up the rear of the vehicle and place it on axle stands. Working in the cabin, release and remove the plastic cover of the handbrake lever (photo).

19. The handbrake adjustment mechanism is located at the front of the location where the handbrake lever passes through the floor panel into the vehicle. Note that the right cable controls the right brake and the left cable controls the left. The procedure for adjusting either brake is identical; however, both brakes must be adjusted the same, i.e. when the lever is tightened, both brakes are applied simultaneously and with the same force.
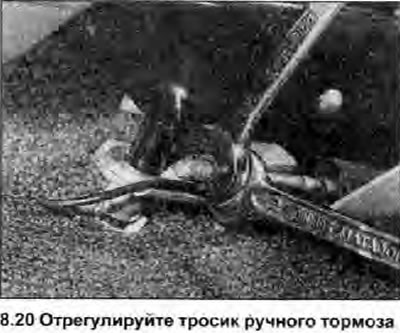
20. Set the handbrake lever to the fourth click of the ratchet, and loosen the locknut. Adjust the cable by turning the adjusting nut until the brake begins to grab the wheel (photo). Now make sure the wheel is locked when the lever is in position between the fifth and sixth notches of the ratchet and turns freely when the lever is released.

21. Re-tighten the lock nut, then adjust the opposite brake in the same way.
22. When the adjustment is completed, install the plastic casing and lower the car.
