2. Release the connecting rod caps from the crankshaft and, if necessary, remove the connecting rods as described in Chapter 10.
3. Before removing the crankshaft, temporarily install the following components on its right end and check the end play as follows. Install the outer thrust washer with the oil grooves facing out, then fit the thrust washer notch so that the tongue fits into the slot in the bearing cap. Place a large spacer plate behind the thrust washer (beveled edge to block), slotted key (tapered end inwards) and drive chain sprocket. Install the crankshaft pulley, bolt and washer: tighten the bolt with a tightening torque specified specifications, while holding the handwheel in the manner shown in the illustration 12.10A of Section 2A. Note that if the thrust washers are not installed correctly, the crankshaft will lock when the bolt is tightened and both thrust washers will be damaged.
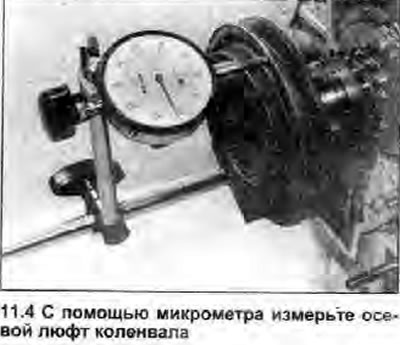
4. Fix the micrometer on the bracket so that its probe is parallel to the crankshaft axis and touches its end. Push the crankshaft all the way to one side, and set the micrometer to zero. Push the crankshaft to the other side until it stops and check the axial play (see illustration). The result can be compared with the data in Specifications value to determine if new thrust washers are required.

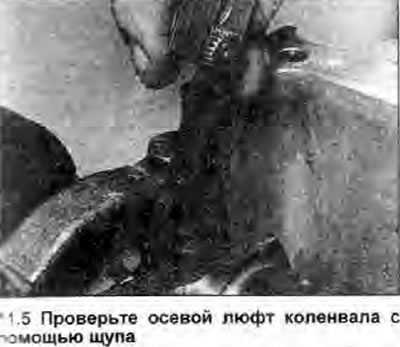
5. If there is no micrometer, feelers can be used. Measure clearance between #1 crankpin counterweight and thrust washer (see illustration).

6. After the end play of the crankshaft has been checked, remove any components that were temporarily installed on the crankshaft. Remove the flywheel as described in Chapter 12 Section 2A.
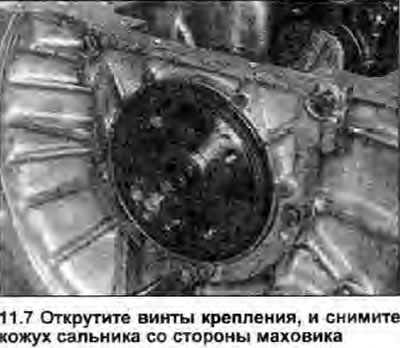
7. Unscrew the fastening screws and remove the stuffing box casing from the crankshaft side, while noticing whether the gasket is installed behind the casing (see illustration). If there is a gasket, use a new one when assembling.

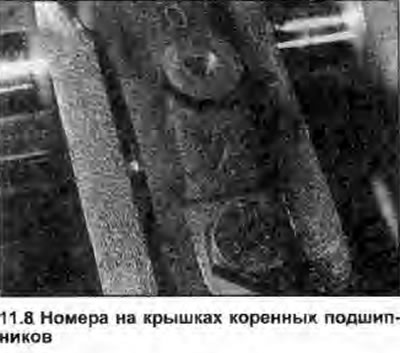
8. Numbers must be visible on each root cap. Lids are numbered from 1 to 3 (see illustration). If the marks are not visible, make your own as you did for the cranks and mark in this way to indicate orientation.

9. Turn off bolts of fastening of covers of radical bearings, and finish covers together with loose leaves.
10. Remove the crankshaft, and remove the thrust washer from its right end, remembering the correct location. Remove the upper main bearing shells from the cylinder block, and remove them with the corresponding bearing shells from the caps so that all bearing shells can be (if it is needed) install strictly in the same place.
